


Your Ultimate At-Home Nail Care Guide for 2026: Strong, Beautiful Nails Made Easy
But what if I told you that achieving gorgeous, healthy nails right from the comfort of your own home is not only totally doable but can also be a truly relaxing, empowering act of self-care? Forget the notion that beautiful nails require constant professional intervention. For 2026 and beyond, we’re all about empowering you to take control of your nail health, turning what might seem like a chore into a delightful ritual.
This isn’t just another list of tips; it’s your comprehensive, warm, and actionable guide to nurturing your nails. Think of me as your best friend, sharing all the secrets I’ve learned (and maybe a few mistakes I’ve made) to help you unlock the potential for truly stunning nails. We’re talking real advice, practical routines, and product insights that fit into your busy life, helping you cultivate strong, beautiful nails that reflect the amazing woman you are. Ready to give your hands (and feet!) the love they deserve? Let’s dive in!
Setting the Foundation: Your Essential Nail Care Toolkit
First things first, let’s talk tools. You don’t need to break the bank or dedicate an entire drawer to nail paraphernalia. A few key, high-quality items will serve you wonderfully. Investing in good tools makes all the difference in achieving a professional-looking finish and maintaining nail health. Here’s what belongs in your at-home nail care arsenal:
- Nail Clippers: Opt for a sharp, sturdy pair. Larger clippers are great for toenails, while smaller, curved ones work best for fingernails. Sharp blades prevent tearing and splitting.
- Nail File: Ditch those flimsy emery boards if you’re serious about preventing splits. Look for a glass, crystal, or high-quality cushioned file with a fine grit. File in one direction to seal the nail edge and prevent damage.
- Nail Buffer: A good four-sided buffer can smooth ridges, add a natural shine, and prep the nail surface for polish. Just remember to use it gently and sparingly to avoid thinning the nail plate.
- Cuticle Pusher: A metal or rubber-tipped cuticle pusher is essential for gently nudging back overgrown cuticles. An orange wood stick also works beautifully and is less likely to scratch the nail plate.
- Cuticle Nipper (Use with Caution!): This is the one tool that requires a “handle with care” label. Only use nippers to remove dead skin or hangnails, never to cut live cuticle. Over-nipping can lead to infection and damage. If you’re unsure, it’s best to skip this one.
- Cotton Pads & Lint-Free Wipes: For polish removal and cleaning the nail plate. Lint-free wipes are excellent for a smooth, fuzz-free polish application.
- Polish Remover: We’ll talk more about types later, but make sure you have a gentle, effective remover on hand.
Keeping Your Tools Clean
Just like your makeup brushes, your nail tools need regular cleaning! After each use, wash metal tools with soap and water, then wipe them down with rubbing alcohol. This prevents the spread of bacteria and ensures your next manicure is a hygienic one. Replace files and buffers regularly, especially if they show signs of wear or contamination.
The Weekly Ritual: A Step-by-Step At-Home Manicure (and Pedicure!)
Ready to transform your nails? This comprehensive routine is designed to nourish, strengthen, and beautify your nails, giving you that salon-fresh feeling without leaving your couch. Aim to do this full routine once a week or every two weeks, depending on your nail growth and polish longevity.
- Step 1: Prep & Remove
Start by removing any old nail polish. Saturate a cotton pad with remover and press it onto your nail for a few seconds to let it soak in before gently wiping away. This minimizes scrubbing, which can be harsh on your nails. Once polish-free, wash your hands thoroughly with soap and water to remove any oil or residue.
- Step 2: Shape & File
Using your clippers, trim your nails to your desired length. For fingernails, try to keep a slight square or oval shape to prevent breakage. For toenails, always cut straight across to help prevent ingrowns. Then, take your nail file and gently shape the edges. Always file in one direction, from the side to the center, rather than a sawing motion. This seals the nail edge and prevents peeling or splitting. Be gentle! Over-filing can weaken the nail.
- Step 3: Soak & Soften
Fill a small bowl with warm water and add a few drops of a gentle soap or a nourishing oil (like almond or jojoba). Soak your fingertips for 5-10 minutes. This softens your cuticles and makes them easier to manage, turning your routine into a mini spa moment.
- Step 4: Cuticle Care
Gently push back your cuticles using your cuticle pusher or an orange wood stick. Work around each nail, slowly pushing the softened skin towards the nail bed. Remember, your cuticles are there to protect your nails from infection, so never cut them aggressively. If you have any stubborn hangnails, carefully snip them with your nippers, but only the dead skin that’s clearly detached. When in doubt, leave it out.
- Step 5: Buffing (Optional but Recommended)
If your nails have ridges or you want an extra smooth surface for polish, gently buff the nail plate. Use the finer side of your buffer and move in soft, circular motions. Buffing also stimulates blood flow, which can contribute to healthy nail growth. Just don’t overdo it – a quick pass is usually enough.
- Step 6: Hydrate & Nourish
This step is crucial! Apply a generous amount of cuticle oil to each nail and massage it into your cuticles and the surrounding skin. Then, slather on a rich hand cream, giving yourself a lovely hand massage. This locks in moisture and keeps your skin soft and supple. If you’re planning to polish, wipe your nail plates with a cotton pad soaked in rubbing alcohol or nail polish remover (non-oily kind) to ensure they are completely free of oils for better polish adhesion.
- Step 7: Base Coat
A good base coat is your nail polish’s best friend. It creates a smooth surface, prevents staining, and helps your polish adhere better. Apply a thin, even layer and let it dry completely before moving on. Patience is truly your best friend here!
- Step 8: Color (Your Choice!)
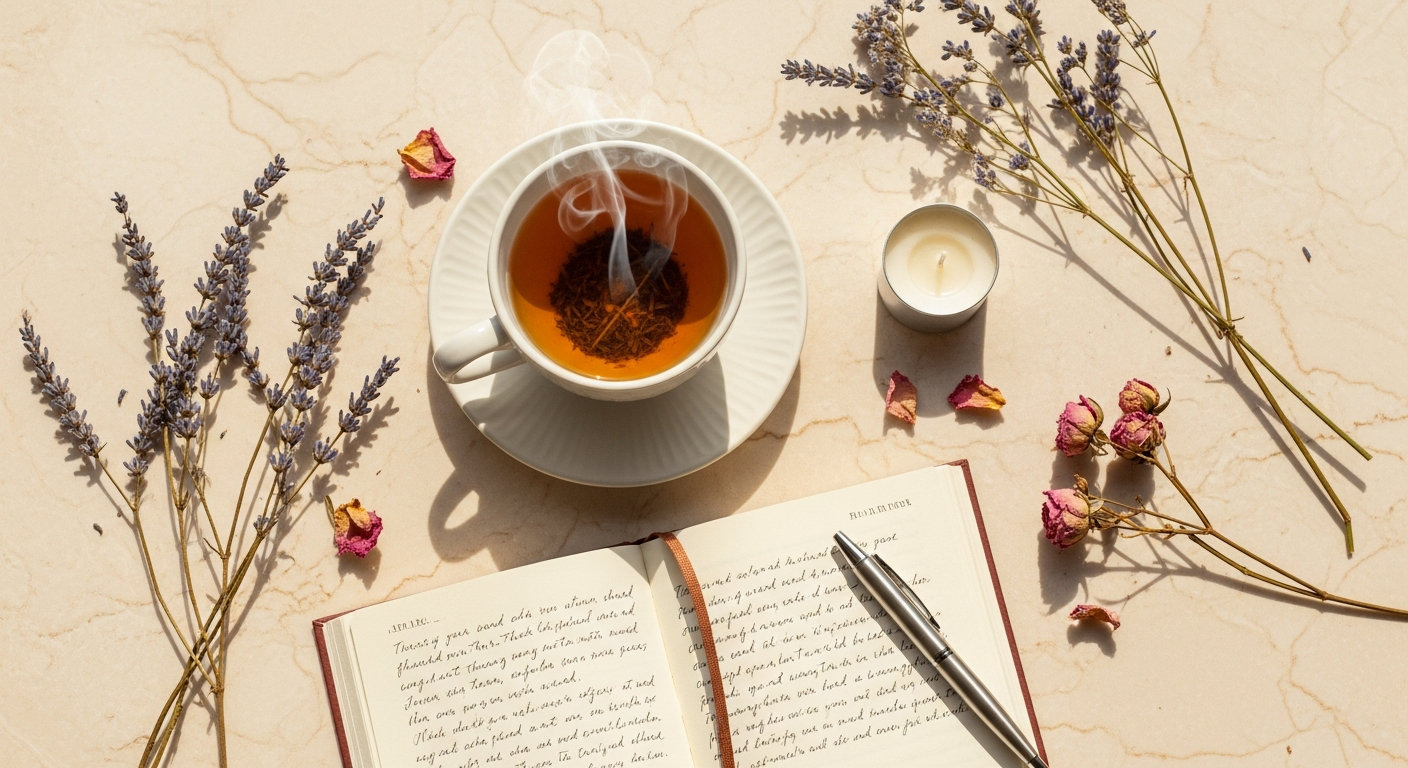
Now for the fun part! Apply your chosen nail polish in thin, even coats. Two thin coats are always better than one thick one, as they dry faster and are less prone to chipping. Allow each coat to dry for a few minutes before applying the next. This step needs patience, so grab a cup of tea or catch up on your favorite podcast while you wait.
- Step 9: Top Coat
Seal the deal with a high-quality top coat. This adds shine, protects your polish from chipping, and helps it last longer. Apply a generous, even layer, making sure to cap the free edge of your nail. This extra step is a game-changer for extending the life of your manicure.
- Step 10: Final Hydration
Once your polish is completely dry (give it a good 30-60 minutes, or use a quick-dry spray!), apply another drop of cuticle oil to each nail to nourish and add a final touch of shine. Voila! You’ve just given yourself a pro-level manicure at home.
Beyond the Mani: Daily Habits for Healthy Nails
A weekly ritual is fantastic, but true nail health is built on consistent daily care. These small, easy habits will make a huge difference in the strength and appearance of your nails over time.
Hydration, Inside and Out
- Drink Your Water: Just like your skin, your nails benefit immensely from internal hydration. Make sure you’re drinking enough water throughout the day to keep your body (and nails!) happy and hydrated.
- Moisturize Regularly: Keep a nourishing hand cream by your sink, on your desk, and in your bag. Apply it generously after washing your hands and throughout the day. Look for ingredients like shea butter, glycerin, and hyaluronic acid.
- Cuticle Oil is Your MVP: This is a non-negotiable for healthy nails. Apply cuticle oil to your cuticles and nail beds at least once a day, preferably twice (morning and night). It keeps the skin soft, prevents hangnails, and conditions the nail plate itself. Jojoba, almond, and vitamin E oils are excellent choices.
Protect Your Paws
- Wear Gloves: When doing dishes, gardening, or using harsh cleaning chemicals, always wear gloves. Water and chemicals are incredibly drying and damaging to both your skin and nails.
- Avoid Using Nails as Tools: Resist the urge to open cans, scrape labels, or pick at things with your nails. This is a surefire way to cause chips, breaks, and splits. Keep a small tool or even a credit card handy for those tasks.
Nourish From Within
- Balanced Diet: Your diet plays a huge role in nail health. Ensure you’re eating plenty of protein, healthy fats (omega-3s found in fish, flaxseed), and vitamins and minerals. Biotin, zinc, and iron are particularly important for strong nails. Think leafy greens, nuts, seeds, lean proteins, and colorful fruits and veggies.
- Consider Supplements (with caution): If you’re concerned about deficiencies, talk to your doctor about supplements. Biotin is often touted for nail growth, but results can vary, and it’s always best to get nutrients from whole foods first.
Break Bad Habits
- Stop Biting/Picking: This is easier said than done, but nail biting and picking at polish are incredibly damaging. It weakens the nail plate and can introduce bacteria. Try keeping your nails polished or applying a bitter-tasting polish specifically designed to deter biting.
Decoding Nail Products: What’s Worth Your Dime?
The beauty aisle can be overwhelming, but understanding a few key product types will help you make smart choices for your nails. Here’s a quick guide to what’s worth investing in for your current at-home nail care routine:
Nail Polish Remover
- Acetone-Based: These are effective and fast-acting, especially for glitter or dark polishes. However, acetone can be very drying, so always follow up with intense hydration (hand cream and cuticle oil).
- Non-Acetone: Gentler on nails and skin, often containing conditioning agents. They take longer to work and might not be as effective on stubborn polishes, but they’re a great choice for dry or brittle nails.
Base Coats
- Standard Base Coat: Creates a smooth surface and protects nails from staining. A must-have for any polished look.
- Ridge Filler Base Coat: If you have uneven nail surfaces, a ridge filler can create a perfectly smooth canvas for your color.
- Strengthening Base Coat: Formulated with ingredients like keratin or protein to help fortify weak or brittle nails.
Top Coats
- Standard Top Coat: Adds shine and protects your polish.
- Quick-Dry Top Coat: A lifesaver for busy individuals, these dramatically speed up drying time.
- Gel-Like Top Coat: Provides a high-shine, plump finish reminiscent of gel manicures, often extending wear time without needing a UV lamp.
- Matte Top Coat: For when you want a chic, non-glossy finish.
Cuticle Oils & Creams
These are non-negotiable! Look for oils rich in vitamins and nourishing ingredients. Some top picks include:
- Jojoba Oil: Mimics the skin’s natural sebum, making it highly effective for penetration and hydration.
- Almond Oil: Rich in Vitamin E, it’s great for nourishing and strengthening.
- Vitamin E Oil: A powerful antioxidant that supports nail health and repair.
- Avocado Oil: Deeply moisturizing and beneficial for dry, brittle nails.
Hand Creams & Lotions
Choose creams that offer deep hydration without feeling greasy. Ingredients like shea butter, ceramides, hyaluronic acid, and glycerin are excellent for moisturizing and repairing the skin barrier.
Nail Strengtheners & Treatments
If you’re battling persistent weakness or brittleness, a dedicated strengthener can help. Many contain ingredients like formaldehyde (use with caution and follow instructions, as overuse can cause brittleness), keratin, or calcium. Always use these according to package directions, and remember that consistent hydration and gentle care are equally important.
Troubleshooting Common Nail Woes
Even with the best intentions, our nails can throw us a curveball. Here are solutions to some common issues you might encounter:
Brittle, Peeling, or Splitting Nails
- Causes: Dehydration, over-exposure to water/chemicals, harsh removers, nutrient deficiencies, or even just genetics.
- Solutions: Amp up your hydration (internal and external with cuticle oil and hand cream), wear gloves, switch to a non-acetone remover, consider a strengthening base coat, and review your diet for essential nutrients. Give your nails a “breather” from polish periodically.
Yellowing Nails
- Causes: Dark nail polish staining (especially without a base coat), smoking, or fungal infections (if persistent and accompanied by other symptoms, see a doctor).
- Solutions: Always use a base coat, take polish breaks, gently buff the surface (sparingly!), or try a nail whitening treatment. For persistent yellowing, especially if it’s thick or crumbly, consult a medical professional.
Hangnails
- Causes: Dry cuticles, picking, or trauma.
- Solutions: Prevention is key! Consistent cuticle oil application keeps the skin soft and less prone to tearing. If you get one, gently trim it with clean nippers (don’t pull!) and apply an antiseptic to prevent infection.
White Spots on Nails
- Causes: Often a result of minor trauma to the nail matrix (the area where the nail grows from), not a calcium deficiency as commonly believed.
- Solutions: These usually grow out with the nail. Focus on protecting your nails from bumps and bangs.
Ingrown Toenails (Briefly)
- Causes: Improper toenail clipping (cutting too short or rounding the corners), tight shoes.
- Solutions: Always cut toenails straight across, not curved. Wear comfortable, well-fitting shoes. For persistent or painful ingrowns, consult a podiatrist.
Keeping It Fresh: Maintaining Your At-Home Manicure
You’ve put in the work, now let’s make that beautiful manicure last! These little tricks will help extend the life of your polish and keep your nails looking their best between full manicures:
- Top Coat Refresh: Every 2-3 days, apply a thin layer of top coat. This revitalizes the shine and adds an extra layer of protection against chips. It’s like a quick beauty boost for your nails!
- Daily Cuticle Oil: As mentioned, cuticle oil is your secret weapon. Apply it morning and night (or more often!) to keep your cuticles soft and nourished, which also helps prevent polish from lifting at the edges.
- Moisturize Your Hands: Keep your hands hydrated throughout the day with a good hand cream. Well-moisturized skin around the nails contributes to overall nail health and can prevent cracks that lead to polish chipping.
- Be Gentle: Continue to treat your nails kindly. Avoid using them as tools and be mindful of activities that could cause chips or breaks.
- Know When to Remove: Don’t try to stretch a manicure past its prime if it’s looking chipped or worn. Lingering old polish can actually dry out your nails and make them more prone to breakage. When it’s time, remove it gently and give your nails a fresh start!
FAQ: Your Top Nail Care Questions Answered
Q1: How often should I do a full at-home manicure?
A: For optimal nail health and appearance, aim for a full at-home manicure once a week or every two weeks. This allows you to properly shape, hydrate, and assess your nail health. In between, focus on daily hydration and top coat refreshes.
Q2: Is acetone nail polish remover bad for my nails?
A: Acetone is very effective at removing polish quickly, especially dark or glittery shades. However, it can be quite drying to the nails and surrounding skin. If you have dry or brittle nails, opt for a non-acetone remover. If you use acetone, always follow up immediately with a rich hand cream and cuticle oil to replenish moisture.
Q3: How can I make my nail polish last longer without chipping?
A: Longevity starts with proper prep! Ensure your nails are clean and free of oils before applying polish. Use a good base coat, apply two thin coats of color (allowing each to dry), and finish with a quality top coat, capping the free edge. Regular top coat refreshes every few days and daily cuticle oil application will also significantly extend your manicure’s life.
Q4: My nails are always breaking or peeling. What can I do?
A: This is a common concern! Focus on consistent hydration from both inside (drinking water) and outside (daily cuticle oil and hand cream). Protect your nails with gloves during chores, avoid using them as tools, and ensure your diet is rich in protein, biotin, and healthy fats. A strengthening base coat might also help, but gentle care and hydration are paramount.
Q5: Should I cut my cuticles?
A: Generally, no. Your cuticles protect your nails from bacteria and infection. Instead of cutting, gently push them back after soaking with a cuticle pusher or orange wood stick. Only use cuticle nippers to carefully remove true hangnails or dead skin that is clearly detached, never live tissue. Over-cutting can lead to damage and infection.
Embrace Your Beautiful, Healthy Nails!
And there you have it, sweet friend – your comprehensive guide to cultivating strong, beautiful nails from the comfort of your own home in 2026 and beyond. This isn’t about perfection; it’s about consistency, self-care, and finding joy in the little rituals that make you feel good. Remember, your hands work hard for you every day, and they deserve a little love and attention.
By incorporating these tips, tools, and routines into your life, you’ll not only see a noticeable difference in the health and appearance of your nails but also discover a peaceful moment of intentional living. So go ahead, gather your tools, put on your favorite tunes, and treat yourself to that at-home spa experience. You absolutely deserve it. Here’s to strong nails, happy hands, and feeling utterly fabulous, one perfect polish stroke at a time!
With love and perfectly manicured wishes,
The Sometimes Daily Team