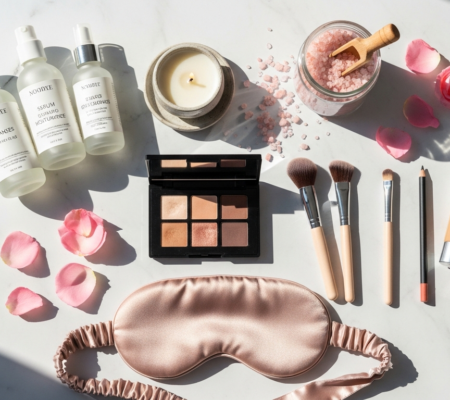

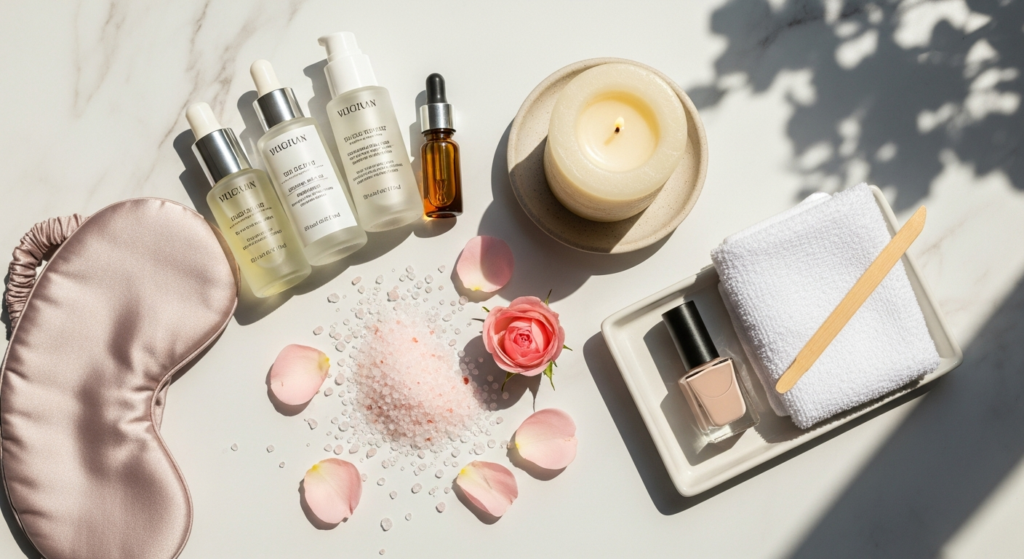
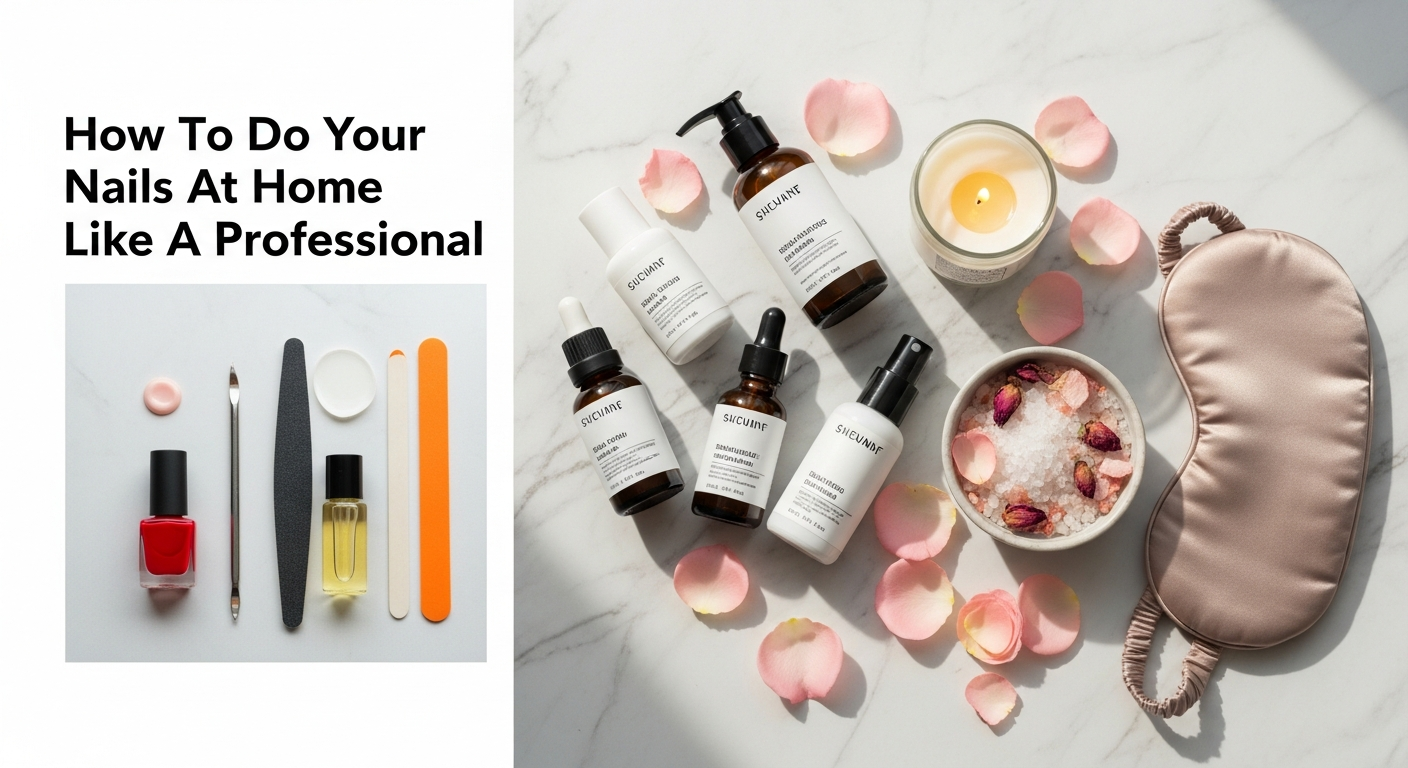
The Foundation: Gathering Your Professional-Grade Arsenal
Achieving salon-quality nails at home begins long before the first swipe of polish. It starts with assembling the right tools and products. Think of it as preparing a chef’s kitchen; without the proper implements and ingredients, even the most skilled cook would struggle. Investing in quality items might seem like an initial expense, but these tools are the backbone of a truly professional at-home manicure or pedicure, and they will serve you for years to come. Opting for durable, high-performance tools not only makes the process smoother but also contributes to better nail health and a superior finish. This curated collection ensures every step of your nail care journey is executed with precision and care, paving the way for stunning, long-lasting results.
- Nail Clippers/Trimmers: Don’t underestimate the power of sharp, clean clippers. For fingernails, a smaller, curved clipper works best, while toenails benefit from a straight-edge clipper to prevent ingrown nails. Ensure they are stainless steel and disinfect them regularly.
- Nail Files and Buffers:
- Emery Board/Glass File: Glass files are a professional secret. They are gentler on the nail edge, preventing splitting and fraying, and are incredibly durable and easy to sanitize. Emery boards are fine for shaping, but look for a grit that isn’t too coarse.
- Buffing Block: A 3-way or 4-way buffing block is essential for smoothing the nail surface, removing ridges, and creating a natural shine before polish application. This step is crucial for how to do your nails at home like a professional, as it creates an even canvas.
- Cuticle Pusher and Nippers:
- Cuticle Pusher: A metal or orange wood stick is used to gently push back cuticles. Never cut your cuticles unless absolutely necessary and by a trained professional, as they protect your nail bed from infection.
- Cuticle Nippers: Only for removing hangnails or extremely stubborn, dead cuticle skin that has lifted. Use with extreme caution. Less is more when it comes to nipping.
- Nail Brush: A small, soft-bristled brush is perfect for cleaning under the nails and gently scrubbing the nail plate during prep.
- Polish Remover:
- Acetone-Free: Gentler on the nails and less drying, ideal for regular use and natural nails.
- Acetone-Based: More effective for glitter polishes, gel polish, or stubborn colors, but can be very drying. Use sparingly.
- Cotton Pads and Swabs: Lint-free cotton pads are crucial for polish removal and cleaning. Cotton swabs are excellent for precise cleanup around the cuticles.
- Nail Polish:
- Base Coat: Essential for protecting your natural nail from staining and providing a tacky surface for the color to adhere, prolonging wear.
- Color Polishes: Invest in good quality brands. The consistency and pigment quality make a significant difference in application and finish.
- Top Coat: A high-quality top coat seals in your polish, adds shine, and protects against chips. Look for quick-drying and high-gloss formulas.
- Cuticle Oil: A non-negotiable for nail health. Hydrates the cuticles and surrounding skin, preventing dryness and hangnails.
- Hand Cream/Lotion: For a luxurious finish and overall skin hydration.
- Rubbing Alcohol/Nail Dehydrator: Crucial for removing any oils or residues from the nail plate before base coat application, ensuring maximum adhesion.
- Toe Separators (for Pedicures): Simple yet effective for keeping toes apart during polishing.
- Foot File/Pumice Stone (for Pedicures): To gently remove dead skin and calluses, revealing softer feet.
- Spa Bowl (for Pedicures): A simple basin for soaking your feet in warm, soapy water.
Having these items readily available and organized streamlines the entire process, making your at-home nail session feel less like a chore and more like a dedicated self-care ritual. This meticulous preparation is the first step in truly understanding how to do your nails at home like a professional.
Step-by-Step Nail Prep: The Secret to Longevity and Flawless Finish

The foundation of any professional-looking manicure or pedicure lies in meticulous preparation. This isn’t a step to rush or skip; it’s where the magic truly begins. Neglecting proper prep will inevitably lead to chipping, uneven application, and a generally less polished look. Think of it like priming a canvas before painting a masterpiece – the better the canvas, the better the artwork. This stage is paramount for creating a clean, smooth, and receptive surface for your polish, ensuring maximum adhesion and longevity. It’s also an opportunity to practice mindfulness, transforming a routine task into a calming, focused activity that contributes to your overall well-being, much like How To Create Self Care Routine by integrating beauty rituals into your daily life.
- Remove Old Polish Thoroughly:
Start by completely removing any old nail polish. Saturate a lint-free cotton pad with acetone-free remover (or acetone for stubborn polishes). Press the pad onto the nail for a few seconds to allow the remover to break down the polish, then wipe firmly from cuticle to tip. Repeat until all traces are gone. For glitter or dark polishes, you might need to hold the pad on longer or use an aluminum foil wrap method.
- Soak (Optional, but Recommended for Pedicures):
For pedicures, fill a spa bowl with warm water and a few drops of a mild soap or bath oil. Soak your feet for 5-10 minutes. This softens the cuticles and makes callus removal easier. For manicures, a quick hand wash with warm, soapy water is usually sufficient.
- Shape Your Nails:
Using your nail clippers, trim nails to your desired length. Always cut straight across for toenails to prevent ingrown nails. For fingernails, you can gently curve the corners. Once trimmed, use a glass file or fine-grit emery board to shape them. File in one direction only, from the side to the center, to prevent splitting and weakening the nail. Avoid a harsh sawing motion. Common shapes include square, oval, round, squoval, and almond. Choose a shape that complements your finger length and personal style.
- Address Cuticles:
Apply a cuticle remover product (if desired) to soften the cuticles, or simply rely on the soak. Gently push back your cuticles using a metal cuticle pusher or an orange wood stick. Push back towards the nail matrix, not up or out, in a rolling motion. Be gentle; the goal is to reveal more of the nail plate, not to damage the delicate skin. Only very carefully nip away any hangnails or truly dead, detached skin using cuticle nippers. Remember, cuticles serve as a protective barrier, so avoid cutting them unnecessarily.
- Buff the Nail Surface:
Using a buffing block, gently buff the surface of each nail. Start with the coarser side (if applicable) to smooth out ridges and imperfections, then move to the finer sides to create a smooth, even surface and a natural sheen. This step is critical for ensuring your polish adheres evenly and looks flawless, truly setting apart how to do your nails at home like a professional from an amateur attempt.
- Clean and Dehydrate the Nail Plate:
This is arguably one of the most overlooked yet vital steps. After all the filing, buffing, and cuticle work, there will be dust, oils, and residues on your nail plate. Saturate a lint-free cotton pad with rubbing alcohol or a specialized nail dehydrator. Thoroughly wipe down each nail. This removes any lingering oils, lotions, or debris that could prevent your base coat from adhering properly, significantly reducing the chances of chipping and extending the life of your manicure.
- Moisturize (Hands/Feet, NOT Nails):
Once your nails are clean and dehydrated, apply a rich hand cream or foot lotion to your hands and cuticles, avoiding the nail plate itself. Massage it in thoroughly. This step nourishes your skin and cuticles, completing the preparation phase of your self-care ritual. For an extra touch of luxury, consider a quick hand massage, allowing yourself a moment of calm, perhaps after a stressful day when you might need to reflect on How To Cope With Anxiety At Work, finding solace in mindful self-care.
By diligently following these preparation steps, you’re not just getting ready to paint your nails; you’re building a strong, healthy foundation for a professional, long-lasting manicure or pedicure. This attention to detail is what truly distinguishes an ordinary at-home job from a salon-quality finish, allowing you to master how to do your nails at home like a professional.
Mastering Polish Application: Techniques for a Salon-Quality Shine
- Apply a Base Coat:
Begin with a thin, even layer of base coat on each nail. The base coat serves multiple crucial functions: it protects your natural nail from staining (especially with darker colors), creates a smooth surface for color application, and helps the polish adhere better, preventing chips. Ensure you cap the free edge (paint a thin line along the tip of your nail) to further seal it and extend wear. Allow it to dry completely—usually 1-2 minutes—before moving on.
- First Coat of Color:
Shake your polish bottle gently (don’t vigorously shake, as this creates air bubbles) to mix the pigment. Remove the brush from the bottle, wiping one side against the neck to remove excess polish. You want enough polish to cover the nail without it dripping. The three-stroke method is the professional standard:
- Place a bead of polish near the cuticle, slightly away from the skin.
- Gently push the brush towards the cuticle, then pull it straight down the center of the nail to the tip.
- Go back to the cuticle area, paint one side of the nail from base to tip.
- Repeat for the other side.
Ensure each stroke is thin and even. Cap the free edge with your color polish as well. Don’t worry if this coat isn’t perfectly opaque; it’s just the first layer. Let it dry for 2-3 minutes. If you’re painting your dominant hand, take extra care and perhaps slow down even more. Patience is key here.
- Second Coat of Color:
Once the first coat is dry to the touch, apply a second thin coat of color using the same three-stroke method. This coat will build opacity and deepen the color, creating that rich, vibrant look you see in salons. Again, cap the free edge. For some highly pigmented polishes, two coats might be enough. For lighter colors or sheer formulas, a third thin coat might be necessary to achieve full opacity. Allow this coat to dry completely for at least 5-10 minutes, or longer if you’re layering three coats. This drying time is essential to prevent smudges and ensure durability.
- Apply Top Coat:
The top coat is your manicure’s shield and shine booster. Apply a generous (but not too thick) layer over your dry color coats, using the same three-stroke method. Again, remember to cap the free edge. A good top coat will provide a high-gloss finish, protect your polish from chipping and scratching, and extend the life of your manicure significantly. Look for quick-drying formulas to minimize waiting time. Allow the top coat to dry for a solid 10-15 minutes before attempting any tasks, and avoid heavy-duty activities for at least an hour. The longer you let it cure, the harder and more resilient your manicure will be.
- Clean Up Any Mistakes:
Even professionals make minor mistakes. Dip a small, flat brush or a cotton swab into nail polish remover and carefully clean up any polish that has gotten onto your cuticles or skin. Be precise to avoid smudging the polish on your nail. This cleanup step is vital for a truly professional finish and makes a significant difference in the overall neatness of your at-home manicure.
By diligently following these steps, you’ll notice a remarkable difference in the quality and longevity of your at-home manicures. This meticulous approach to application is precisely how to do your nails at home like a professional, ensuring a flawless, salon-worthy shine every time.
Advanced Techniques & Troubleshooting: Elevating Your At-Home Manicure
Once you’ve mastered the basics of prep and application, you’re ready to explore techniques that truly elevate your at-home manicure from good to genuinely professional. This section dives into some slightly more advanced tricks and essential troubleshooting tips that salon experts use to ensure a perfect finish and address common issues. Learning these nuances will not only improve the aesthetics of your nails but also empower you to tackle common problems, saving you time and frustration. By integrating these tips, you’ll solidify your understanding of how to do your nails at home like a professional, achieving results that consistently impress.
Achieving the Perfect French Manicure at Home
The classic French manicure is a timeless, elegant look that many find intimidating to recreate at home. With a few simple tools and a steady hand, you can master it:
- Prep Nails Thoroughly: As always, start with perfectly prepped nails – shaped, buffed, and dehydrated.
- Base Coat: Apply a clear or sheer nude base coat and let it dry completely.
- The White Tip:
- Method 1 (Freehand): Use a highly opaque white polish. Rest your pinky finger on a flat surface for stability. With a steady hand, paint a thin, curved white line along the free edge of your nail. Use a small, flat brush dipped in remover to clean up any wobbly lines.
- Method 2 (Stencils/Guides): Adhesive French tip guides can be purchased. Apply them to your nails, leaving the free edge exposed. Paint the white polish over the exposed tip. Carefully peel off the guides immediately after painting, while the polish is still wet, to avoid jagged lines.
- Method 3 (Brush Trick): For a natural curve, apply a small dot of white polish to the center of your free edge. Use the brush to gently pull the polish to one side, creating a curve, then repeat for the other side.
- Sheer Pink/Nude Top Coat (Optional): Once the white tips are dry, you can apply a sheer pink or nude polish over the entire nail to blend the tip and give a natural, translucent finish.
- High-Gloss Top Coat: Finish with a clear, high-gloss top coat, capping the free edge for durability.
Basic Nail Art for Beginners
Adding simple designs can truly personalize your manicure. Here are a few easy ideas:
- Dots: Use a dotting tool (or the blunt end of a bobby pin/toothpick) to create polka dots. Dip the tool into polish and gently press onto the nail. Vary sizes and colors for different effects.
- Stripes: Use a thin striping brush (or the edge of a piece of tape for straight lines) to create simple lines, either vertical, horizontal, or diagonal.
- Glitter Accent: Apply glitter polish to just one accent nail (e.g., your ring finger) for a subtle sparkle. Or, apply a thin layer of top coat, then gently sprinkle loose glitter onto it before applying another top coat to seal.
- Marble Effect: Apply two different colored dots of polish while they are still wet. Use a toothpick to gently swirl them together for a marbled look.
Troubleshooting Common At-Home Manicure Issues
Even with the best techniques, challenges can arise. Knowing how to address them is key to maintaining a professional standard.
- Bubbles in Polish:
- Cause: Shaking the bottle too vigorously, applying polish too thickly, or humidity.
- Fix: Gently roll the polish bottle between your palms instead of shaking. Apply thinner coats and allow adequate drying time between each. If bubbles appear, gently re-smooth with a clean, dry brush while polish is still wet, or remove and restart the coat.
- Streaky Application:
- Cause: Polish too thick or too thin, uneven brush strokes, not enough polish on the brush, or low-quality polish.
- Fix: Ensure polish consistency is good (add a drop of nail polish thinner if it’s too thick). Always use the three-stroke method. Apply thin, even coats, and use a good quality polish with rich pigmentation.
- Chipping Too Quickly:
- Cause: Improper nail prep (oils on nail plate), not capping the free edge, skipping base/top coat, thick coats that don’t cure properly, or using weak nails.
- Fix: Always dehydrate nails before base coat. Cap the free edge with every layer. Never skip base and top coats. Apply thin coats. For naturally weak nails, consider a strengthening base coat.
- Smudging After Drying:
- Cause: Not allowing enough drying time between coats or for the final top coat.
- Fix: Patience is paramount! Always allow each coat to dry to the touch before applying the next. Use a quick-dry top coat. Avoid hot water, heavy tasks, or tight gloves for at least an hour after applying the final coat.
- Polish on Cuticles/Skin:
- Cause: Overloading the brush, shaky hand, or painting too close to the skin.
- Fix: Use a small, flat brush dipped in acetone to clean up edges immediately after each coat or after the final top coat. A steady hand and careful application, starting slightly away from the cuticle, will minimize this.
By understanding these advanced techniques and troubleshooting common issues, you’re not just painting your nails; you’re becoming a skilled artisan. This mastery is a significant part of truly knowing how to do your nails at home like a professional, allowing you to create stunning, resilient manicures and pedicures with confidence and flair. It’s another aspect of taking control of your personal well-being, much like developing a Best Skincare Routine Acne Prone Skin for a holistic approach to beauty and self-care.
Post-Manicure Care & Maintenance: Extending the Life of Your Beautiful Nails
You’ve invested time and effort into creating a flawless, professional-looking manicure or pedicure. Now, the final step is to ensure it lasts as long as possible. Proper post-manicure care and ongoing maintenance are crucial for extending the life of your polish, keeping your nails healthy, and preserving that salon-fresh look. This continuous care is what truly defines how to do your nails at home like a professional, proving that the job isn’t done once the polish dries, but rather becomes an ongoing commitment to nail health and beauty. Just as a consistent How To Create Self Care Routine supports overall wellness, so too does a regular nail care regimen support the longevity of your beautiful nails.
Immediate Aftercare (First 12-24 Hours)
- Be Gentle: Your polish might feel dry to the touch, but it’s still curing and hardening for several hours, sometimes up to 24. Avoid hot water, long baths, dishwashing, or any activities that involve prolonged water exposure during this time.
- Avoid Harsh Chemicals: Steer clear of household cleaners without gloves, and be mindful of hand sanitizers, which can dry out polish and cuticles.
- Moisturize Strategically: You can apply hand cream, but be careful not to rub excessively on the nail plate itself for the first few hours. Focus on the back of your hands and around the cuticles.
Daily Maintenance for Lasting Beauty
- Hydrate Your Cuticles Religiously: This is perhaps the most important daily habit for nail health and manicure longevity. Apply cuticle oil at least once a day, preferably twice (morning and night). Gently massage it into your cuticles and the skin surrounding your nails. Hydrated cuticles are less prone to dryness, hangnails, and peeling, which can compromise the integrity of your polish.
- Moisturize Your Hands: Keep your hands and feet hydrated with a good quality lotion throughout the day. This prevents skin dryness that can lead to rough cuticles and contributes to overall hand health.
- Wear Gloves: Whenever you’re doing dishes, cleaning with harsh chemicals, or gardening, wear gloves. Water and chemicals are notorious for stripping polish and drying out nails and cuticles, leading to premature chipping and damage.
- Avoid Using Nails as Tools: Resist the urge to pick, scratch, or pry anything with your nails. This is a sure-fire way to chip polish and damage your natural nails.
- Reapply Top Coat: To refresh your manicure and add an extra layer of protection, reapply a thin layer of top coat every 2-3 days. This significantly extends wear time, restores shine, and helps prevent minor chips from becoming major ones. Remember to cap the free edge.
Addressing Minor Wear and Tear
- Small Chips: For tiny chips at the tip, you can sometimes carefully touch up with a small amount of the original color polish, followed by a top coat. This works best for opaque colors.
- Dull Shine: A quick swipe of a clear top coat can revive a dull manicure and make it look fresh again.
- Hangnails: If a hangnail appears, carefully trim it with sterilized cuticle nippers. Do not pull it, as this can lead to further tearing and infection. Follow up with cuticle oil.
When to Remove and Restart
While maintenance extends the life of your manicure, eventually it will be time for a fresh start. Don’t let your polish get too chipped or worn down, as this negates the “professional” look you’ve worked hard to achieve. Aim to remove and re-do your manicure every 5-7 days, or when significant wear becomes apparent. This also gives your nails a chance to breathe and allows you to reassess their health.
When removing polish, use a gentle, acetone-free remover if possible, and be patient, especially with dark or glitter polishes. After removal, take the opportunity to nourish your nails with a rich hand mask or a longer cuticle oil treatment before starting the whole professional process again. By meticulously caring for your nails post-manicure, you demonstrate a holistic approach to beauty and wellness, underscoring your mastery of how to do your nails at home like a professional, and ensuring your hands always look their best.
Frequently Asked Questions
Recommended Resources
Related reading: Cozy Fall Recipes For Entertaining (Rock Salt Plum).
Related reading: Celebrity Inspired Everyday Makeup (Celebrity Exchange).